If you’re trying to understand the rubber seals process — how a slab of raw elastomer becomes a finished O-ring or gasket — you’re probably asking one of two things: how manufacturers actually do it, or whether you could make a decent seal yourself. Both questions share an answer: knowing how professionals shape and cure rubber tells you exactly where a homemade seal will fall short, and where it’s genuinely good enough.
Every rubber seal, regardless of shape or method, moves through the same broad stages. Raw rubber compound — a blend of base polymer, fillers, curing agents, and additives — is mixed to a workable consistency, then shaped into the seal’s cross-section using one of several methods described below. Under heat and pressure, the shaped rubber cures, or vulcanizes: a chemical reaction that cross-links the polymer chains, typically at 150–200°C, turning a soft, tacky compound into an elastic network with a final hardness that usually lands somewhere between 40 and 90 Shore A depending on the formulation. The cured part is then trimmed of excess material and inspected before it ships. Which shaping method gets used depends on the seal’s shape complexity, the production volume needed, and the base material — that choice is where real differences between finished seals show up.

Four processes account for nearly all rubber seals in commercial use, and each trades off tooling cost, cycle time, and achievable geometry differently.
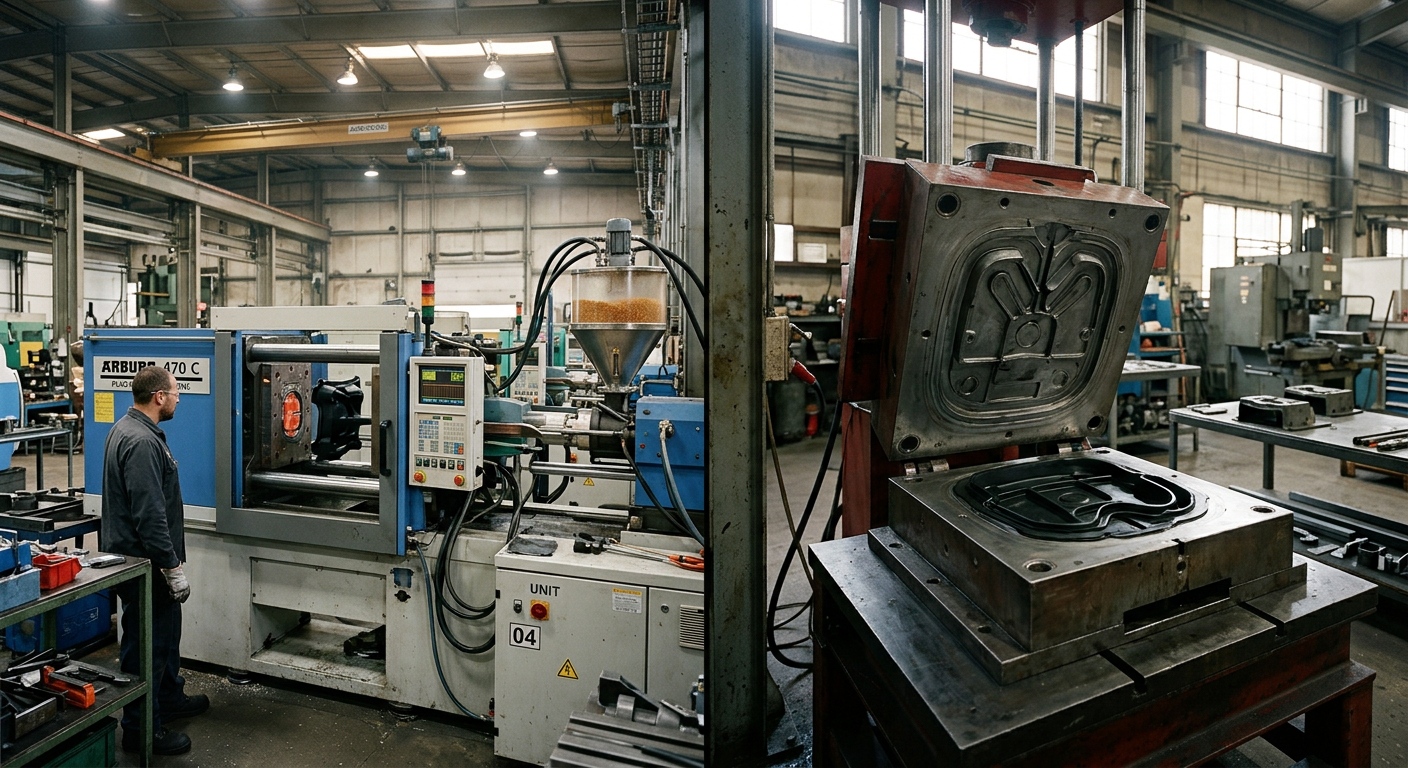
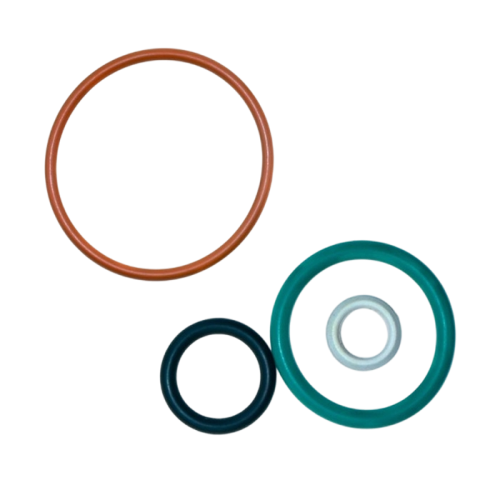
Uncured rubber, pre-cut into blanks, is placed directly into an open mold cavity. A press closes the mold, applying pressure while heat cures the rubber, typically running a 2–10 minute cycle depending on part thickness. It’s the lowest-tooling-cost option, which suits high-volume runs of relatively simple cross-sections like flat gaskets and basic O-ring profiles. The trade-off is that flash — the excess rubber squeezed out at the mold line — usually needs manual or tumble trimming afterward, which adds labor time that injection molding avoids.
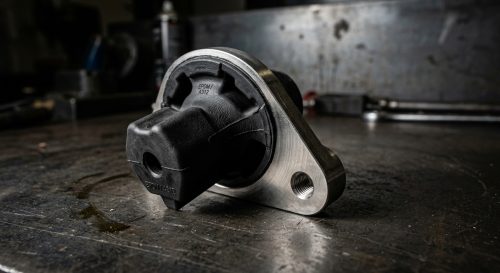
Transfer molding sits between the other two: a rubber preform is loaded into a heated pot above the mold, then forced through sprues into the closed cavity under pressure before curing. It costs more in tooling than compression but less than injection, and it’s a common choice for parts needing metal inserts bonded in place — rubber-to-metal bonded parts, for instance — since the pressurized fill packs rubber tightly around an insert that a straight compression cycle might not seat cleanly.
Rubber compound is preheated and forced through runners into a closed mold cavity under pressure, rather than placed in by hand. That extra control supports tighter tolerances and more detailed geometry — seals with multiple lips, undercuts, or integrated features — with cycle times often running under two minutes once tooling is dialed in. Tooling costs more upfront than compression molding, but less flash means less manual trimming per part. Whether that trade-off pays off depends on volume and part complexity, which is exactly what injection molding vs. compression molding for rubber parts works through in more detail.
Extrusion pushes heated rubber compound continuously through a shaped die, producing a long profile with a constant cross-section that’s cured and cut to length. It’s the standard method for strip and profile seals — door seals, weatherstripping, extruded rubber sealing strips and profiles — rather than for O-rings or parts whose cross-section changes along their length. Because the die produces one continuous shape, material waste stays low across long runs.
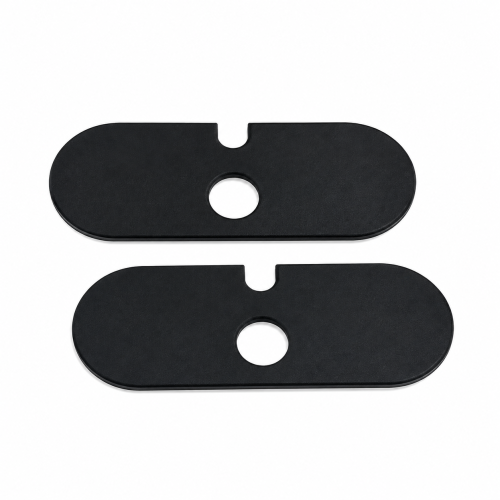
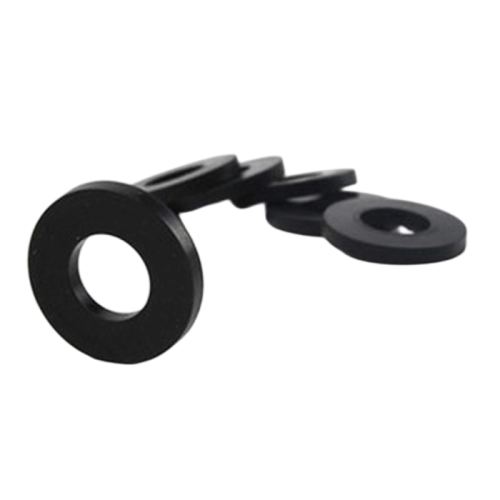
Flat gasket shapes are stamped or cut directly from sheet rubber stock using a die or punch, with no heat, mold, or curing step involved. Against molding, that trade-off runs both ways: die-cutting is cheaper and faster to set up for flat shapes in low-to-medium volumes, but it can’t hold the tighter thickness and profile tolerances a compression or injection mold achieves, and it only works on flat or near-flat geometry — that comparison is what die-cut vs. molded rubber washers breaks down by cost and tolerance. Because it needs no heat or mold, a punch set and sheet stock can approximate the same cut by hand — just without the tolerance control a die press holds run after run.
| Method | Best For | Tooling Cost | Typical Cycle | Typical Parts |
|---|---|---|---|---|
| Compression Molding | Simple shapes, high volume | Lower | 2–10 min | O-rings, flat gaskets |
| Transfer Molding | Inserts, moderate complexity | Moderate | Similar to compression | Rubber-to-metal bonded parts |
| Injection Molding | Complex geometry, tight tolerances | Higher | Often under 2 min | Multi-feature lip seals |
| Extrusion | Constant cross-section, continuous length | Moderate (die only) | Continuous | Strip seals, weatherstripping |
| Die-Cutting | Flat shapes, low-to-medium volume | Lowest | Seconds per stroke | Flat washers, gaskets |
However the shaping happens, the sequence stays the same:
If a seal has failed and a replacement isn’t readily on hand, making your own is sometimes realistic — with real limits.
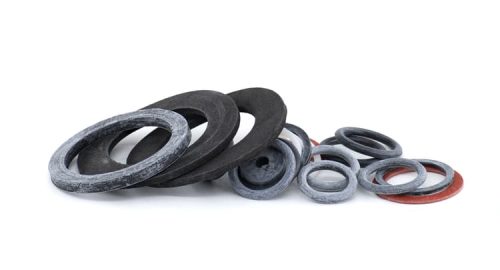
For flat gaskets, the closest DIY method mirrors die-cutting: trace the old part, or the mating surface, onto sheet rubber stock of a matching thickness and durometer, then cut it out with scissors, a utility knife, or a punch set. For simple static joints — a cover plate, a low-pressure housing split line — a gasket-maker or silicone sealant applied directly to the joint can substitute for a cut gasket entirely.
What you can’t replicate at home is true vulcanization or mold-level precision. A hand-cut or hand-applied seal won’t match the tight dimensional tolerances, chemical resistance, or temperature range of a part that’s been compounded, molded, and cured to spec, because there’s no controlled heat-and-pressure cure cycle setting the polymer’s final properties and no mold holding exact geometry.
That’s fine for non-critical, low-pressure, easily replaceable seals. It’s not fine for dynamic seals — anything sliding or rotating — fuel or chemical exposure, or safety-critical and regulated applications in automotive, medical, or hydraulic systems, where a failed seal has real consequences. In those cases, the practical path is a custom-molded rubber seal built to spec rather than a stopgap, matched to the original material and dimensions from a drawing or sample.
Professional manufacturing closes the gap DIY methods can’t. Finished seals are checked against the original drawing for dimensions — often against ISO 3601 tolerance classes for O-rings — and material properties like hardness and compression set are verified against the compound spec before parts ship. Certifications such as IATF 16949:2016 and ISO13485:2016 exist specifically to keep that inspection and material control consistent, batch after batch, across automotive and medical supply chains. That repeatability, more than any single measurement, is what separates a tooled, quality-controlled seal from one cut or sealed by hand.
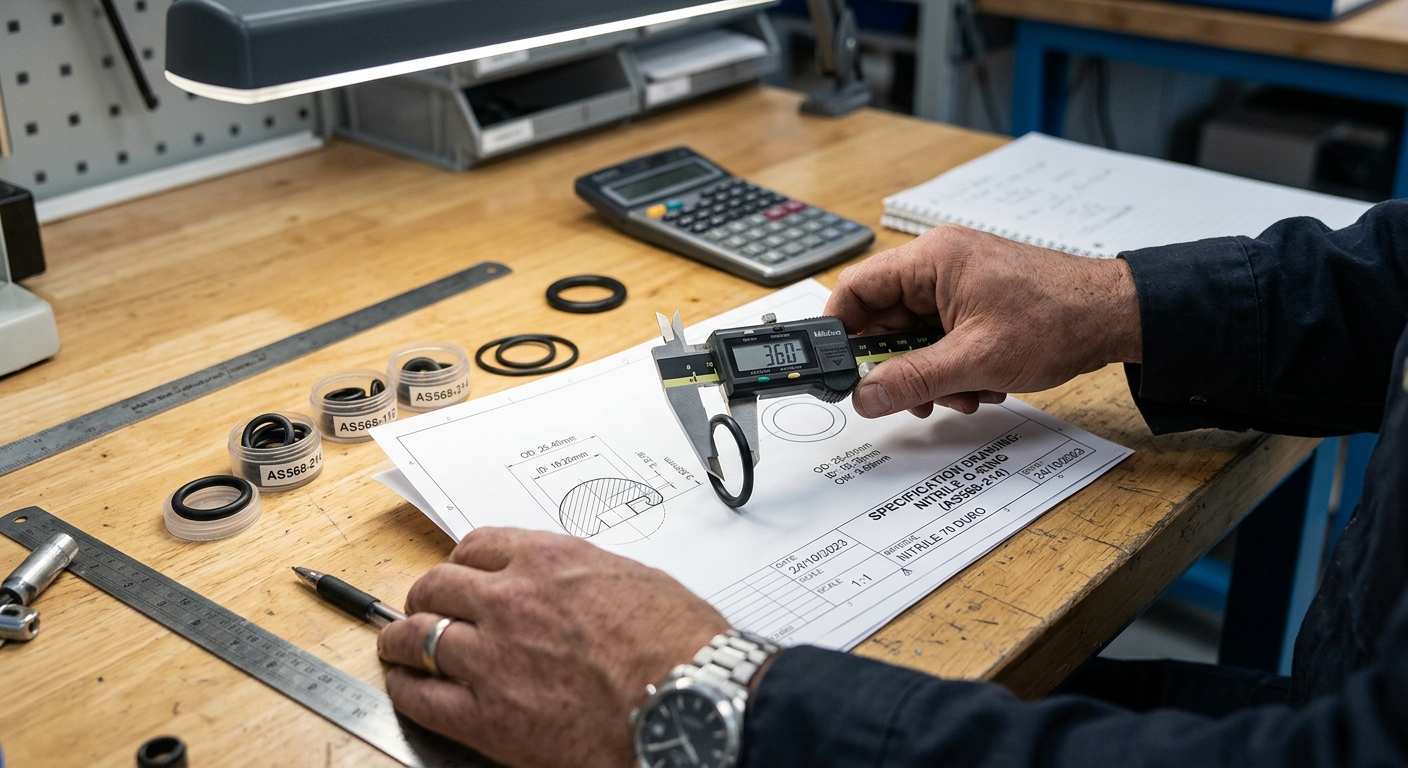
Need a seal made to a drawing rather than guessed at with sheet stock? Talk to our engineers about material and tolerance before you commit to a method.
How can I make my own rubber seal?
Cut a gasket from sheet rubber stock using an existing seal or the mating surface as a template, or use a gasket-maker/silicone sealant for simple static joints. This works for low-pressure, non-critical uses but won’t match the tolerance or chemical/thermal resistance of a molded, cured part.
What are the common problems with rubber seals?
The most frequent issues are compression set (permanent flattening after prolonged squeeze), cracking from UV or ozone exposure, chemical swelling or softening from an incompatible fluid, and leaks from a seal that was simply the wrong size for the gland or joint.
What do you lubricate rubber seals with?
Silicone-based or dielectric grease is generally safe across most rubber compounds. Avoid petroleum-based lubricants on natural rubber, EPDM, or neoprene, since these compounds can swell or soften on contact with petroleum products.
What does Vaseline do to rubber seals?
Petroleum jelly can degrade many common rubber compounds — natural rubber, EPDM, and neoprene in particular — by causing swelling and softening over time. It’s best avoided unless the seal’s exact material has been confirmed compatible with petroleum-based products.
Once the process is clear, the DIY-versus-custom decision comes down to one question: how critical is this seal really, and does the application call for a tooled, cured part instead of a cut one? For anything dynamic, chemically exposed, or safety-related, request a quote with your drawing or sample and let a molder match the original spec.

Our engineering team reviews your specs and responds within 24 hours with material recommendations and competitive pricing.