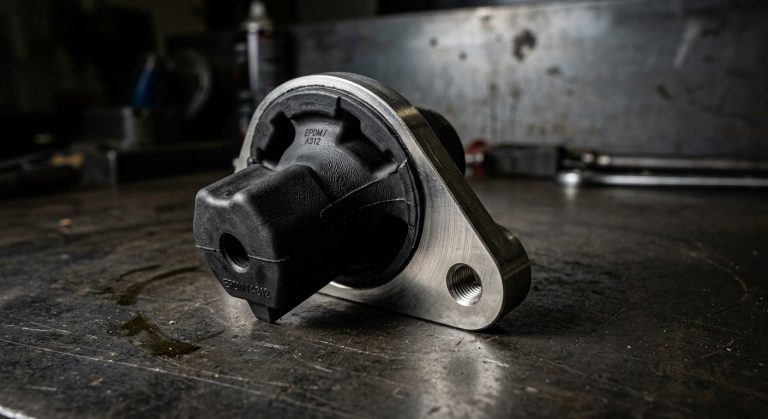
Rubber-to-metal bonding works by chemically linking a rubber compound to a metal substrate during the molding process — not by gluing a finished rubber part onto metal afterward. A properly bonded part should fail in the rubber itself before it fails at the bond line; if it peels cleanly off the metal, something went wrong upstream in surface prep, adhesive application, or cure. Get the process right and you get a mount, bushing, or seal that outlasts the equipment it's installed in. Get it wrong and you get warranty claims six months after shipment.
Here's the part a lot of buyers misunderstand: rubber-to-metal bonding isn't an adhesive step tacked onto the end of production. It's built into the molding process itself. The metal insert or substrate gets treated and coated with a bonding agent before it goes into the mold, and then raw rubber compound is injected or compressed around it under heat. As the rubber cures, it forms a covalent chemical bond with the primer layer on the metal — not just a mechanical grip.
That distinction matters because it determines where the part fails under stress. A true bonded part transfers load through the rubber-metal interface as if it were one continuous material. This is why bonded rubber-to-metal parts show up everywhere from engine mounts to bonded valve seats — anywhere you need a rubber element to stay locked to a rigid structure under repeated flexing, vibration, or pressure.
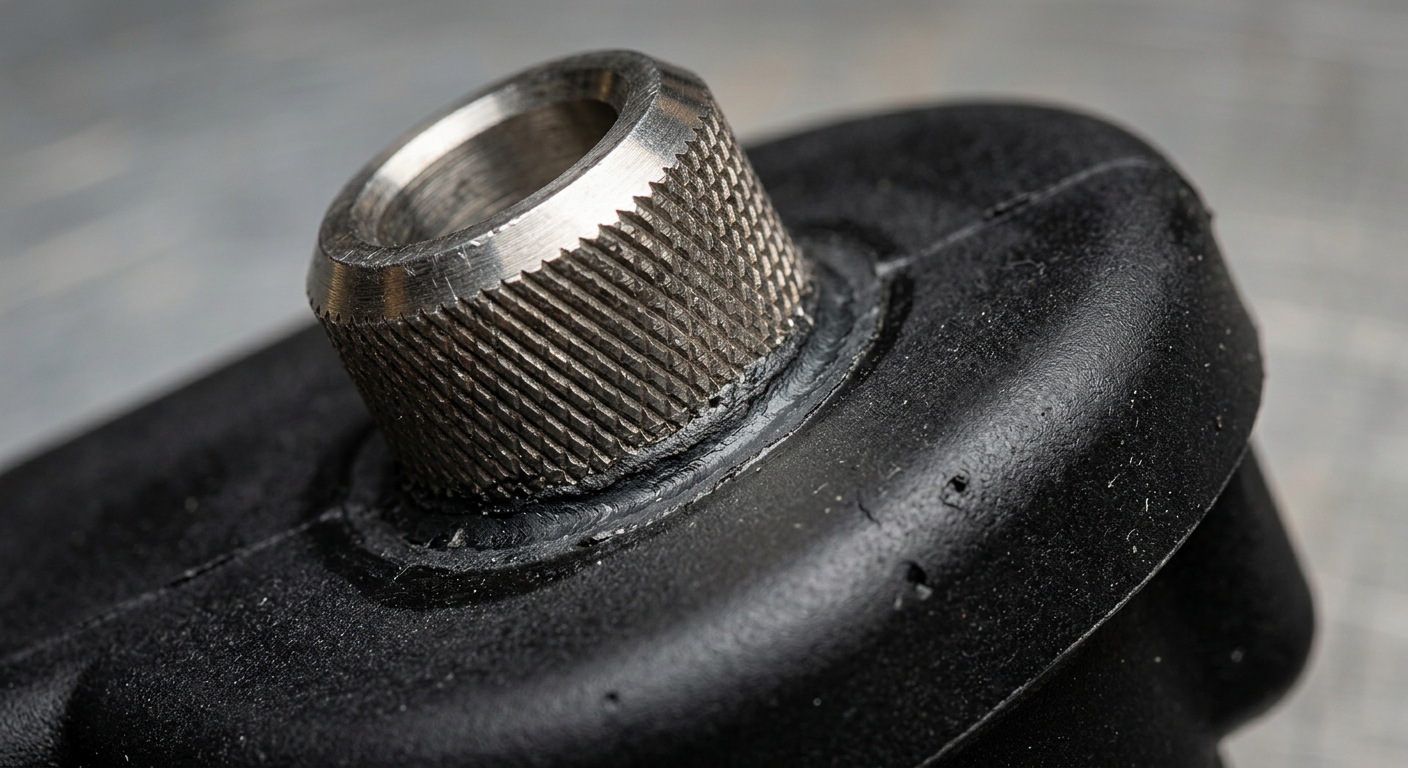
Most industrial bonding relies on a two-coat chemical system, and skipping either coat is the single most common cause of adhesion failure. Coat one is the primer — usually a chlorinated rubber or phenolic-based layer that etches into the metal surface and provides corrosion resistance. Coat two is the bonding agent (a.k.a. the cover coat or topcoat), which contains reactive resins compatible with the specific rubber compound being molded.
The primer bonds to metal; the topcoat bonds to rubber. Skip the primer and you get a topcoat sitting on unprepared metal — it'll hold for a while, then let go under thermal cycling. Skip the topcoat and the rubber compound simply doesn't have the right chemistry to cross-link with the primer layer during vulcanization. Both layers need to be applied at the correct dry film thickness (typically 5–15 microns per coat) and fully cured before the part goes into the rubber mold.
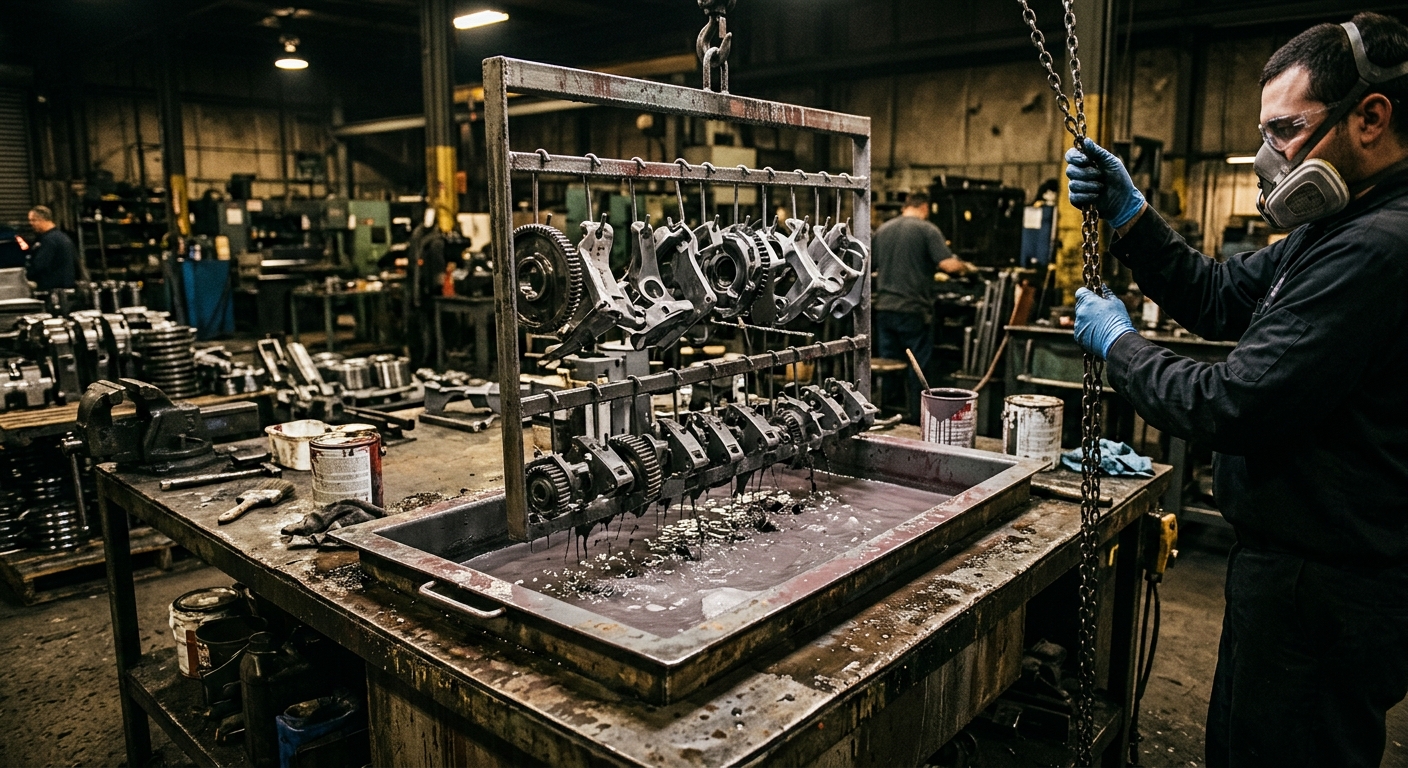
Adhesion strength is decided before the adhesive ever touches the metal. If the surface isn't clean, roughened, and free of oxidation, no amount of primer chemistry will save the bond. Standard prep involves degreasing (vapor or alkaline wash), abrasive blasting to achieve a consistent surface roughness (typically Ra 1.5–3.5 µm), and sometimes phosphating for steel parts to improve corrosion resistance under the bond line.
For example, a hydraulic equipment OEM sourcing bonded rubber-to-steel valve plates once saw a 15% field failure rate traced back to a single cause: the metal supplier had switched to a lighter oil coating for rust prevention during shipping, and the degreasing step wasn't adjusted to compensate. The bond looked fine in visual inspection but failed under cyclic pressure testing within weeks. Surface contamination is invisible to the eye and brutal to the bond.
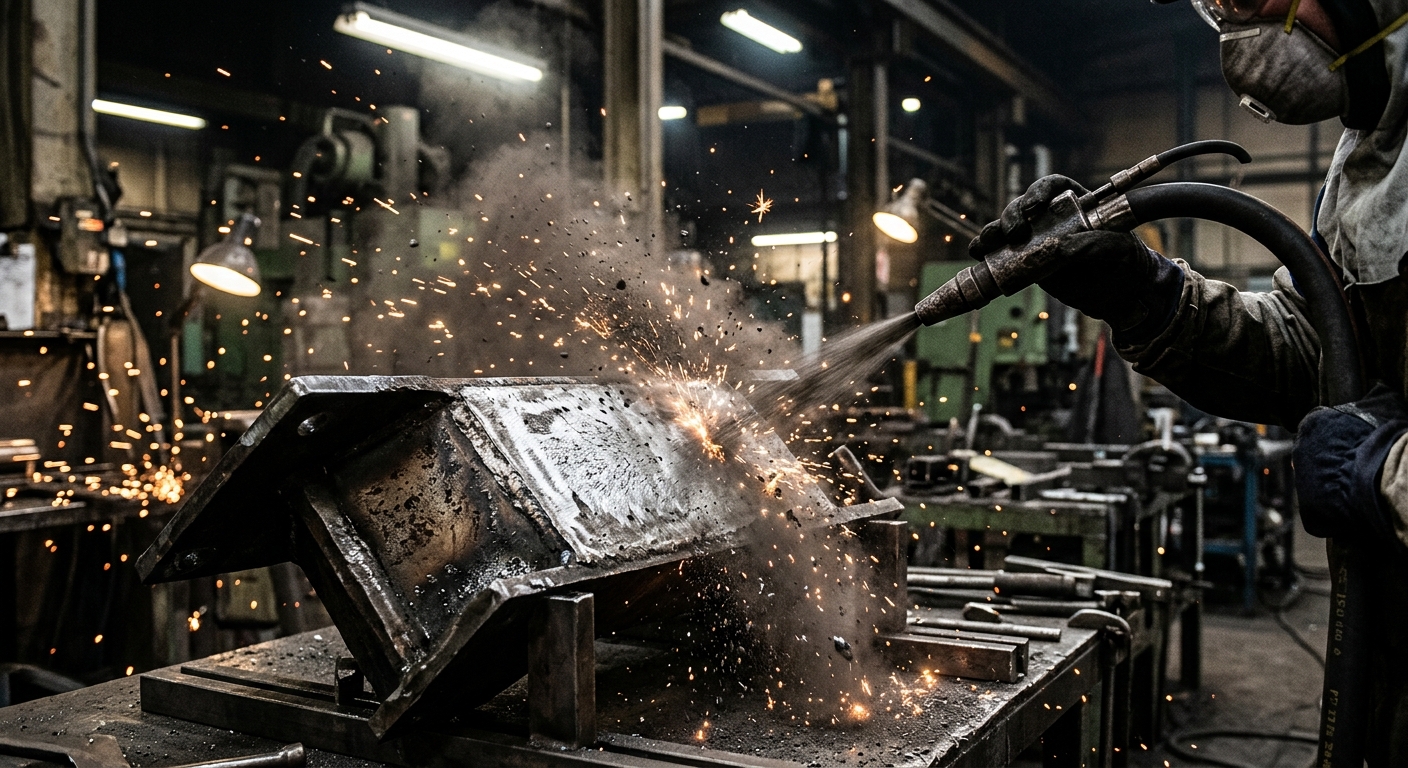
Temperature and time during vulcanization don't just cure the rubber — they finish the bonding reaction too. Undercure leaves unreacted bonding agent at the interface, creating a weak boundary layer that looks fine until it's stressed. Overcure can degrade the primer chemistry or cause the rubber near the bond line to become brittle, which shows up later as cracking right at the metal edge.
Compound-specific cure windows matter here. NBR and EPDM bond systems typically cure in standard press cycles around 150–180°C, but silicone bonding chemistry behaves differently and often needs a post-cure bake to fully develop adhesion strength — skip that step and the bond can be 30–40% weaker than spec, even though the part looks visually complete off the press.
Not all rubber compounds bond to metal with equal ease, and choosing the material without checking bondability is a common sourcing mistake. NBR and EPDM are relatively straightforward — well-established bonding agents exist and adhesion is reliable across a wide processing window. FKM and silicone are more demanding; they need bonding systems specifically formulated for their low surface energy and require tighter process control to hit consistent results.
FFKM, used for aggressive chemical or high-purity applications, is the hardest of the group — many FFKM-to-metal applications actually avoid true bonding altogether and rely on mechanical retention (grooves, undercuts, clamping) instead, because reliable chemical adhesion is difficult and costly to validate at production scale. If your application calls for FFKM and someone quotes a simple bonded design without discussing this, ask more questions.
The way a bonded part fails tells you exactly where the process broke down — you don't need a lab to start diagnosing.
The rubber lifts off cleanly, leaving shiny bare metal. This almost always points to surface prep — contamination, wrong roughness, or a skipped primer step.
This is actually the goal. If the rubber itself tears and a thin rubber layer stays bonded to the metal, the bond was stronger than the rubber — that's a correctly executed bond, even though the part failed for other reasons (fatigue, chemical attack, overload).
Cracking that starts right at the geometric edge of the metal insert usually signals a mold design or stress concentration issue rather than a chemistry problem — sharp corners on the insert create peel stress that no adhesive system handles well. This overlaps with issues covered in our root cause guide to rubber seal failures, since geometry-driven stress concentration shows up in bonded parts and standalone seals alike.
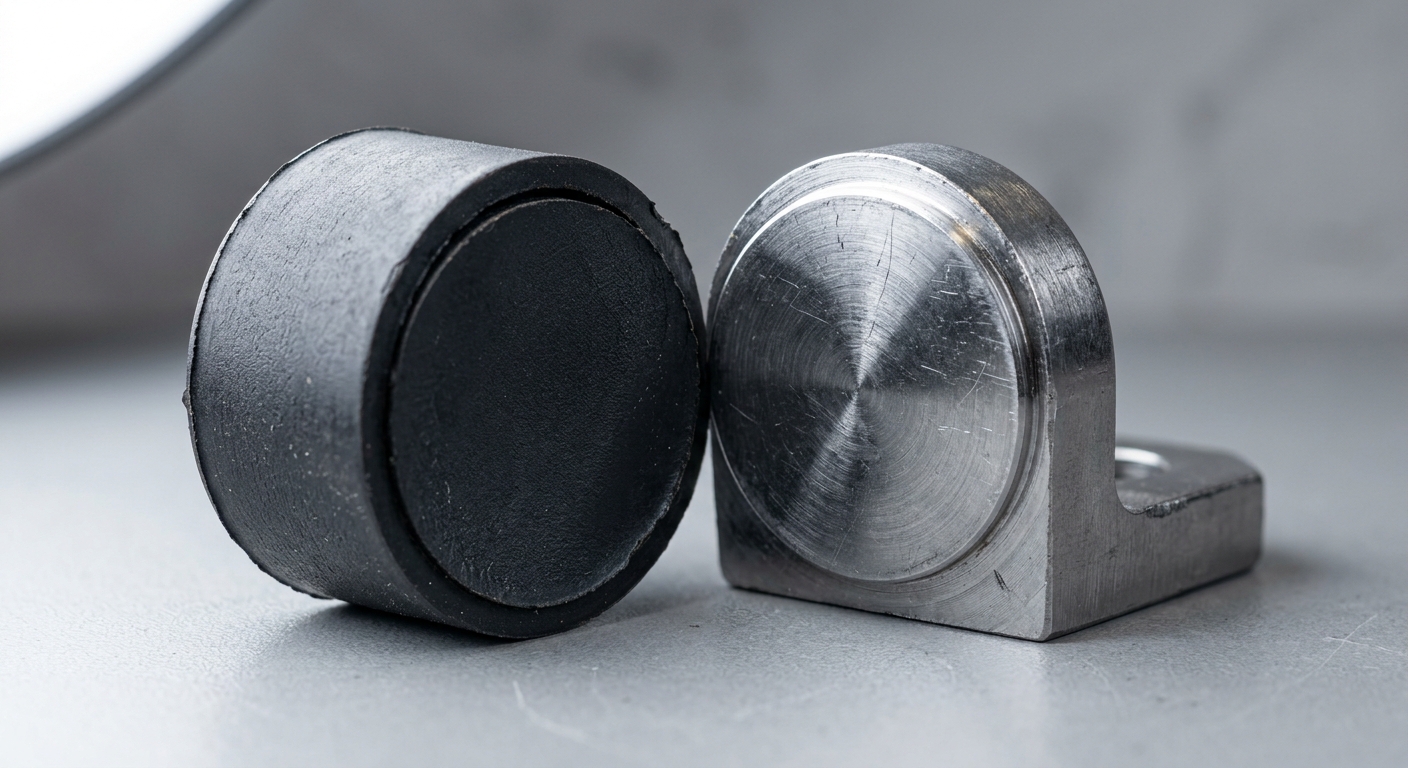
You can't fully verify a bond by looking at it, which is why destructive peel testing on production samples matters more than visual inspection. Standard methods include 90-degree peel tests and pull-off tests per ASTM D429, where a sample is pulled apart and the failure mode is documented. A batch showing consistent cohesive (rubber-tearing) failure across samples is a good sign; any adhesive (clean-peel) failures in the sample set should trigger a hold on that production lot.
Salt spray and thermal cycling tests are also standard for parts going into automotive or outdoor equipment applications, since bond integrity under corrosion and thermal expansion mismatch is often the real-world failure driver, not static pull strength.
Bonding chemistry can only do so much if the part geometry works against it. A few design habits that consistently improve bond durability: avoid sharp 90-degree edges on metal inserts (radius them to reduce peel stress), keep rubber cross-sections thick enough to absorb thermal expansion mismatch between rubber and metal, and specify insert material and plating compatible with the chosen bonding agent up front — aluminum, steel, and stainless steel all need different primer formulations.
This is exactly the kind of decision that should happen during engineering review, before tooling is cut, not after the first failed batch shows up in testing. If you're also evaluating standalone sealing geometry alongside bonded designs, our O-ring gland design guide covers related stress and fit principles worth cross-checking.

Our engineering team reviews your specs and responds within 24 hours with material recommendations and competitive pricing.